Windows 10 is een van de meest verwachte versies van Windows door Microsoft. Hoewel Windows 8 een nieuwe trend creëerde in de wereld van Desktop OS, had het enkele problemen met het ontwerp en de prestaties die de belangrijkste focus waren voor Microsoft in Windows 10. Dus Windows 10 Final Build werd onthuld op 29 juli 2015 voor Desktop als evenals smartphones.
Het bevatte veel aanpassingen door rekening te houden met de tekortkomingen van Windows 8. In feite is het een geavanceerde versie van Windows, maar toch zijn er elke dag een aantal gevolgen bij verschillende gebruikers.
Een groot deel van deze gevolgen zijn de fouten die naar voren komen wanneer u een bepaalde taak probeert uit te voeren. Een aantal mensen is een foutmelding tegengekomen bij het openen van verschillende software en browsers in hun Windows 10. Deze foutmelding komt met een foutmelding dat de toepassing niet correct kon starten (0xc0000005). Klik op OK om de applicatie te sluiten . Deze fout treedt meestal op bij internetbrowsers, maar beperkt zich niet tot deze. Elke toepassing in Windows reageert mogelijk niet meer vanwege deze fout. Het moet dus worden opgelost om die essentiële software weer aan het werk te krijgen.

11/12/2016: Gebruikers meldden dat de onderstaande methoden ook werken op Windows 7.
Reden achter de Windows 10-fout 0xc0000005:
Er zijn een aantal bekende redenen waardoor deze fout de werking van verschillende software in Windows 10 verstoort. Een van die redenen die als een belangrijke oorzaak worden beschouwd, is een antivirusprogramma van derden dat conflicten veroorzaakt met uitvoerbare bestanden en hun werking beïnvloedt. Aan de andere kant kunnen registers beschadigd raken door malware en virussen, waardoor de programma's zich abnormaal gedragen. Soms kunnen slechte hardwarestuurprogramma's ook de boosdoener zijn die deze fout veroorzaakt.
Oplossingen om de Windows 10-fout 0xc0000005 op te lossen:
Op basis van de hierboven genoemde redenen zijn de oplossingen eenvoudig. Ga dus door de volgende methoden om van deze frustrerende foutmelding af te komen.
Herstel corrupte systeembestanden
Download en voer Restoro uit om corrupte en ontbrekende bestanden vanaf hier te scannen en te herstellen , ga daarna verder met de onderstaande oplossingen. Het is belangrijk om ervoor te zorgen dat alle systeembestanden intact en niet beschadigd zijn voordat u doorgaat met de onderstaande oplossingen.
Methode # 1: het antivirusprogramma repareren
Antivirusprogramma's kunnen de uitvoerbare bestanden van een aantal programma's beïnvloeden. Dus om dit probleem op te lossen, moet u het antivirusprogramma van derden uitschakelen om te controleren of dit de boosdoener was of niet. Houd er rekening mee dat het uitschakelen van antivirusprogramma's kan leiden tot ernstige bedreigingen voor uw computer wanneer u verbinding met internet maakt.
U kunt ook vertrouwen op de eigen beveiligingssoftware van Windows, zoals Windows Defender . Het heeft dezelfde functionaliteit als elk ander antivirusprogramma. U kunt antivirus uitschakelen door naar de instellingen te gaan en het schild uit te schakelen.

Controleer nogmaals op de fout nadat het is uitgeschakeld. Als het nog steeds aanhoudt, ga dan naar de volgende methode.
Methode # 2: registers repareren
Het register is de centrale database van Windows die constant door uw pc wordt gebruikt om het te helpen bij het lezen van veel verschillende bestanden en instellingen die het moet uitvoeren. Registers kunnen beschadigd raken door schade aan bepaalde bestanden die nodig zijn om alles op zijn plaats te stapelen. Daarom raden de meeste experts aan dat u een back-up van uw register maakt en deze back-up op een conventionele USB-stick bewaart, zodat u uw register in de vorige staat kunt herstellen in geval van corruptie. Maar als u geen back-up van uw register hebt gemaakt, volgt u deze stappen om registers te herstellen om de fout 0xc0000005 op te lossen .
1. Download software voor het opschonen van registers via deze link .
2. Installeer het na het downloaden met de aanbevolen instellingen. Open de software nadat het installatieproces is voltooid.
3. Klik in de interface op het tabblad Register in het linkerdeelvenster en klik op de knop met het label Scannen op problemen . Het begint te zoeken naar fouten in het register en wanneer het zoeken is voltooid, wordt een knop Geselecteerd probleem herstellen geactiveerd. Klik op die knop en alles wordt opgelost.

Methode # 3: defecte stuurprogramma's repareren
Stuurprogramma's zijn de softwareprogramma's die de computer helpen te communiceren met de hardware die erop is aangesloten. Dus als ze beschadigd zijn, heeft de hardware de neiging om storingen te veroorzaken . Het oplossen van deze defecte duikers kan u op een aantal manieren helpen. Volg onderstaande stappen.
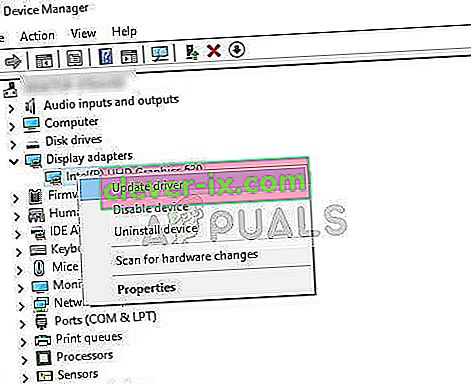
1. Open Apparaatbeheer door op Win + X te drukken en het in de lijst te selecteren.
2. Blader in Apparaatbeheer omlaag om te zien of er hardware is met een gele markering. Als dat het geval is, klikt u daar met de rechtermuisknop en selecteert u Stuurprogramma's bijwerken . Als u recentelijk stuurprogramma's heeft geïnstalleerd, installeert u die stuurprogramma's ook opnieuw.

3. Klik in het venster dat daarna verschijnt op Automatisch zoeken naar bijgewerkte stuurprogramma's om het automatisch stuurprogramma's te laten zoeken en installeren. Als u de stuurprogramma's handmatig heeft gedownload, klikt u op de onderstaande optie om ze te bladeren en te installeren. Controleer de fout nadat het proces is voltooid.

Methode # 4: BCD repareren
Deze methode wordt door de gebruikers op eigen risico uitgevoerd. Dit werkte voor sommigen en niet voor sommigen. U moet Windows ook opnieuw activeren nadat u de stappen in deze handleiding hebt uitgevoerd.
- Houd de Windows-toets en Druk op X . Kies Command Prompt (Admin)
- Typ " bcdedit" en druk op ENTER. Als uw Windows Boot Loader Path xOsload.exe is, moet u enkele bestanden verwijderen en uw BCD repareren. U kunt dit zien in het veld PATH nadat u de opdracht " bcdedit" hebt uitgevoerd.
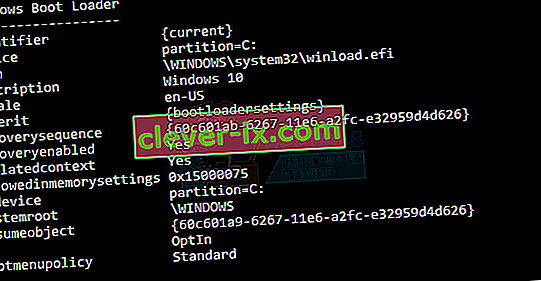
- Als u klaar bent, voert u de volgende opdrachten hieronder uit, sommige retourneren mogelijk niet gevonden, maar negeren de fouten en gaan door tot de laatste. Zorg ervoor dat u na elke opdracht op de ENTER-toets drukt.

Del D: \ Windows \ System32 \ xOsload.exe Del D: \ Windows \ System32 \ xNtKrnl.exe Del D: \ Windows \ System32 \ Drivers \ oem-drv64.sys attrib c: \ boot \ bcd -h -r -s ren c: \ boot \ bcd bcd.old bootrec / rebuildbcd
Methode 5: controleren op Windows-updates
Windows Updates bevatten vaak oplossingen voor enkele bugs en glitches, maar ze zijn ook berucht omdat ze plaatsmaken voor nieuwe problemen op de computers van mensen. In deze stap zullen we echter controleren of er updates voor uw besturingssysteem zijn, omdat Microsoft vaak problemen oplost die voortkomen uit hun updates. Volg de onderstaande gids om dat te doen.
- Druk op "Windows ' + " I " om de Windows-instellingen te openen.
- Klik in de instellingen op de optie "Updates en beveiliging" en selecteer aan de linkerkant de optie "Windows Update" .
- Klik in het volgende scherm op de optie "Controleren op updates" en het zal Windows automatisch vragen om te controleren op beschikbare updates.
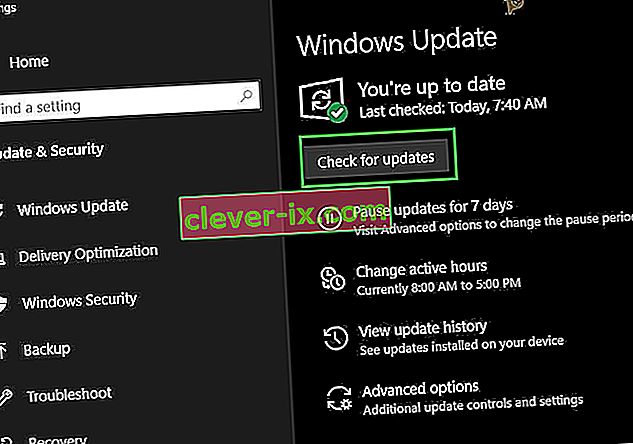
- Nadat de updatecontrole is voltooid, klikt u op de knop "Downloaden" om het downloaden en installeren van nieuwe updates op uw computer te starten.
- Nadat deze updates zijn geïnstalleerd, controleert u of dit het probleem op uw computer heeft verholpen.


Methode 6: Computer herstellen
Als u dit probleem net begint te krijgen, kan het worden geactiveerd door een foutieve installatie van het stuurprogramma of zelfs door een frauduleuze toepassing die u mogelijk onlangs op uw computer hebt geïnstalleerd. Daarom zullen we in deze stap de staat van de computer terugzetten naar een eerdere datum en hopelijk zou dit ons probleem moeten verhelpen als dit te wijten was aan de bovengenoemde redenen. Om dit te doen:
- Druk op "Windows" + "R" om de prompt Uitvoeren te openen.
- Typ "rstrui" en druk op "Enter" om het venster voor herstelbeheer te openen.
- Klik op "Volgende" en vink de optie "Meer herstelpunten weergeven" aan.
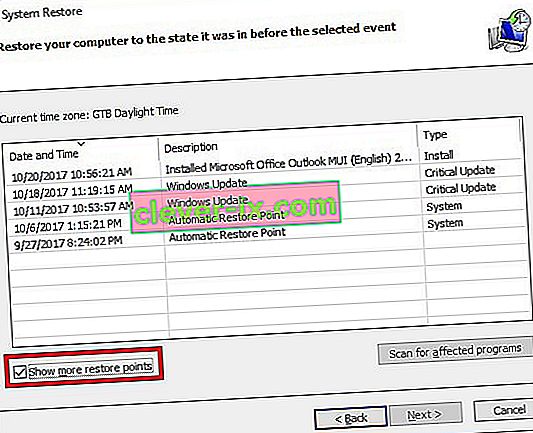
- Selecteer een herstelpunt in de lijst dat vóór de datum ligt waarop dit probleem zich voordeed.
- Klik nogmaals op "Volgende" en volg de instructies op het scherm om alles terug te zetten naar de geselecteerde datum.
- Nadat het herstel is voltooid, controleert u of het probleem zich blijft voordoen.


Methode 7: Firewall inschakelen
Het is in sommige gevallen mogelijk dat de fout wordt geactiveerd omdat de toepassing verdacht is of in ieder geval als deze als verdacht is gemarkeerd en de Windows Firewall niet op uw computer wordt uitgevoerd om deze verdachte te valideren. Daarom zullen we er in deze stap voor zorgen dat de Windows Firewall is ingeschakeld om deze fout te verhelpen. Daarom:
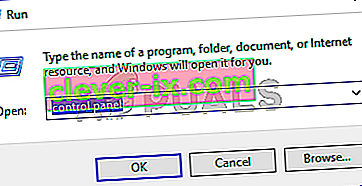
- Druk op "Windows" + "R" om de prompt Uitvoeren te openen.
- Typ "Configuratiescherm" en druk op "Enter" om de klassieke interface van het Configuratiescherm te openen.
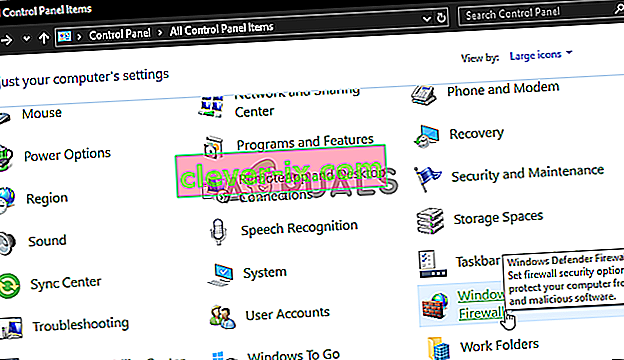
- Klik in het Configuratiescherm op de optie "Weergeven op:" en selecteer de knop "Grote pictogrammen" .
- Nadat u deze selectie heeft gemaakt, klikt u op de optie "Windows Defender Firewall" om de firewall te starten en selecteert u vervolgens "Windows Defender Firewall in- of uitschakelen".
- Zorg ervoor dat u de "Windows Defender Firewall inschakelen " aanvinkt voor beide beschikbare opties om de firewall in te schakelen.
- Nadat u deze selectie heeft gemaakt, slaat u uw wijzigingen op en sluit u het venster af.
- Controleer daarna of het probleem zich blijft voordoen.


Methode 8: Voer SFC-scan uit
In some situations, you might’ve installed a bad driver on your computer or at some point, due to a storage failure, some system files or drivers might’ve been corrupted. Therefore, in this step, we will be running a complete system scan to identify any drivers that are missing signatures or to fix any abnormalities in the system files. For that:
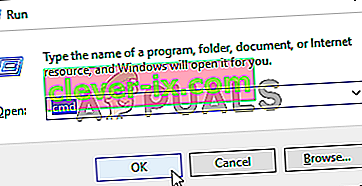
- Press “Windows’ + “R’ to open the Run prompt.
- Type in “cmd” and then press “Shift’ + “Ctrl” + “Enter” to provide admin permissions.Running the Command Prompt
- Type in the following command inside the command prompt and press “Enter” to execute it.
sfc /scannow
- Let the computer scan for any broken or corrupted items and it should automatically replace them with working ones.
- Check to see if doing so fixes the error message.

Method 9: Disabling Data Execution Prevention
Data Execution Prevention is a program that prevents certain programs or executables from being able to run on your computer because it suspects that they might be viruses. Due to this prevention, sometimes, as a false alarm, legit applications might also face issues while trying to run on your computer. Therefore, in this step, we will be disabling this setting from the system configuration panel. For that:
- Press ‘Windows’ + “R’ to open the Run prompt.
- Type in “Control Panel” and press “Enter” to launch the classical control panel interface.

- Inside the Control Panel, click on the “View By:” icon and then select the “Large Icons” option.
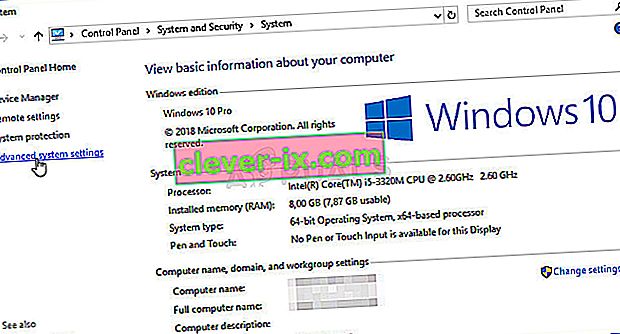
- After selecting Large Icons, select the “System” option.
- Click on the “Advanced System Settings” option on the left side of the screen.
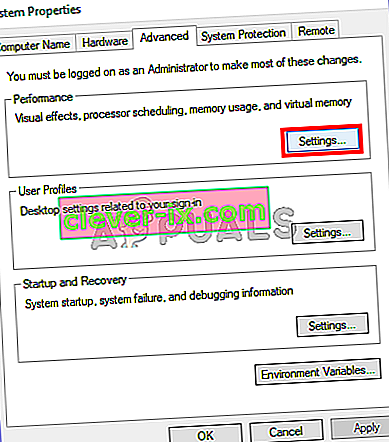
- In the advanced System Settings, click on the “Advanced” tab from the top.
- In the advanced tab, click on the “Settings” option under the “Performance” heading.
- On the next window that opens up, click on the “Data Execution Prevention” tab, and then select the “Turnon DEP for all programs except thoseI Select” option.
- After that, click on the “Add” option and point to the executable of the application that you are facing issues with.
- This way, that application will no longer come under the jurisdiction of the DEP program.
- Check to see if doing so has fixed the issue.


If the above process is unable to fix the issue, it might be because the executable isn’t the only one being affected by the DEP program. Sometimes the DEP might actually be preventing a herd of executables from being run on the computer and to counter this we will be disabling DEP completely.
Disabling DEP completely cannot be done through any Windows setting and it needs to be done manually through the command prompt. Remember to take this step as a last resort because this can in some cases makes your computer more vulnerable to viruses and malware attacks. In order to disable DEP through the command prompt:
- Press “Windows” + “R’ to open the Run prompt.
- Inside the Run prompt, type in “cmd” and then press “Shift” + “Ctrl” + “Enter” to launch in admin mode.
- Inside the command prompt, type in the following command and press “Enter” to execute it on your computer.
bcdedit.exe /set {current} nx AlwaysOff - Once the command has been executed, run the application that you want to and check to see if the error message still persists.
Method 10: Disable Firewall and Windows Defender
In some situations, the executable that you want to run on the computer might actually be blocked by the Firewall and it would not be able to make contact with its servers this way. Therefore, we will have to allow the executable in our Firewall for both public and private networks which should get it working if the Firewall is preventing it.
In addition to that, sometimes the Windows Defender might prevent the application from running on your computer because its local files might be suspicious and not properly signed. This can be due to a false alarm as well so we will be disabling the Windows Defender for the application as well by adding an exclusion. In order to do that:
- Press “Windows” + “R” to launch the Run prompt.
- Type in “ControlPanel” and press “Enter” to launch the classical control panel interface.
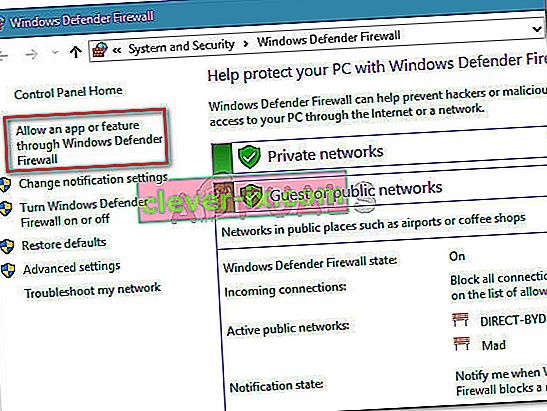
- Click on the “View by:” button, select “Large Icons” and then click on the Windows Defender Firewall option.
- Select the “Allow an app orfeature through the Firewall” button on the left pane and then click on the “Change Settings” button and accept the prompt.
- From here, make sure that you check both the “Public” and the “Private” options for the application and its entries.
- Save your changes and exit out of the window.
- After that, press “Windows” + “I” to launch the settings and click on the “Updateand Security” option.

- From the left pane, click on the “Windows Security” button and then click on the “Virus and Threat Protection” button.
- Select the “Manage Settings” button under the Virus and Threat Protection Settings heading.
- Scroll down and click on the “Add or Remove Exclusions” button in the next window.
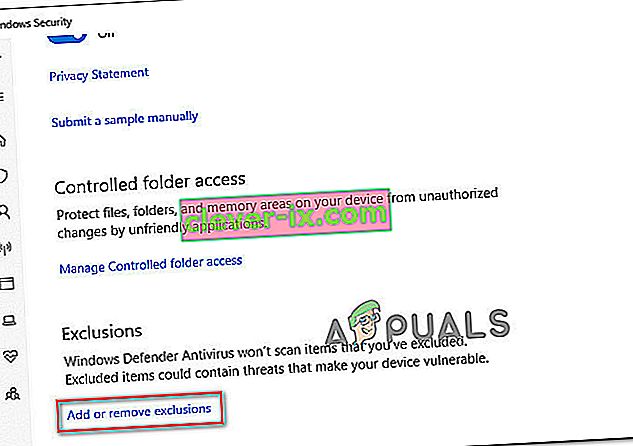
- Click on the “Add an Exclusion” option and select “Folder’ from the File type.
- Make sure to specify the application’s folder with which the issue is occurring and exit out of this window after saving your changes
- Check and see if doing so has fixed the error message.


Method 11: Reinstall Firefox
If you are getting this error while trying to launch Firefox, it might be occurring because the applications haven’t been installed properly on your computer. Therefore, in this step, we will be launching the app management window and uninstalling Firefox after which we will reinstall it completely by downloading it from the Firefox website. For that:
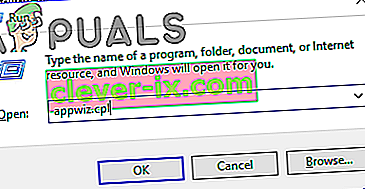
- Press “Windows” + “R” to open the Run prompt.
- Type in “appwiz.cpl” and press “Enter” to open the app management window.
- In the app management window, scroll down and right-click on the “Firefox” application.
- Select “Uninstall” from the list and then follow the on-screen instructions to remove the software from your computer.
- Repeat this step for all instances and bundled applications of the software installed on your computer.
- Make sure to disable any third-party antiviruses at this point to make sure that the software is installed smoothly.
- Head on over to the Mozilla website and click on the download button.

- Click on the downloaded executable and install it on your computer following the on-screen instructions.
- Check to see if doing so has fixed the error message on your computer.


Method 12: Scanning for Malware
It is possible in some cases that the computer has acquired malware that is preventing the user from being able to run all the system functions on their computer. Therefore, in this step, we will be using the default Windows Defender to scan our computer thoroughly for any viruses or malware that might’ve found its way on our computer. For that:
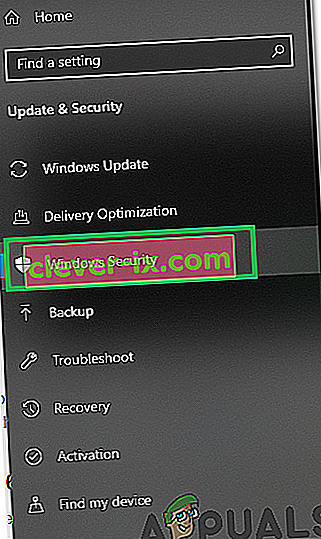
- Press the “Windows” + “I” keys simultaneously on your PC to open the Settings tab.
- Navigate to the Update& Security option and then click on the “Windows Security” button on the left tab.
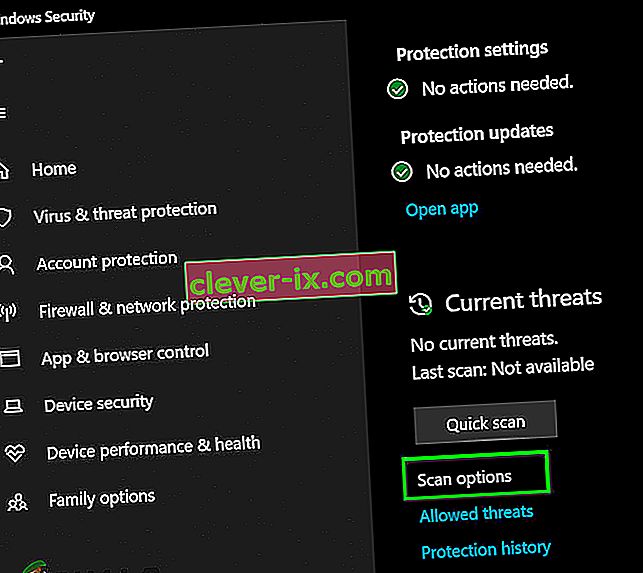
- After that, click on the “Open Windows Security” and select the “Virus and Threat Protection” option.
- After that, click on the “Scan Options” button below the “Quick Scan” window.
- Click on the “Full Scan” option and then hit the button of “Scan Now”.
- Wait for a few seconds while this process gets completed and then finally check if the error gets resolved now.


Microsoft Security Scanner is an additional tool that you can use to test the system for any further viruses and malware because sometimes the default tool isn’t able to perform the scan properly. Therefore, in this step, if the issue still hasn’t been resolved, we will be using the Microsoft Security Scanner to further make sure for any issues.
- Launch your browser and download the Microsoft Security Scanner from here.
- After downloading the executable, run it on your computer and let it install.
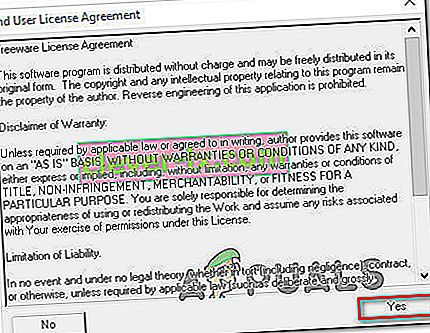
- Accept the License Agreement terms and click on “Next”.
- Select “Full Scan” and click on “Next”.
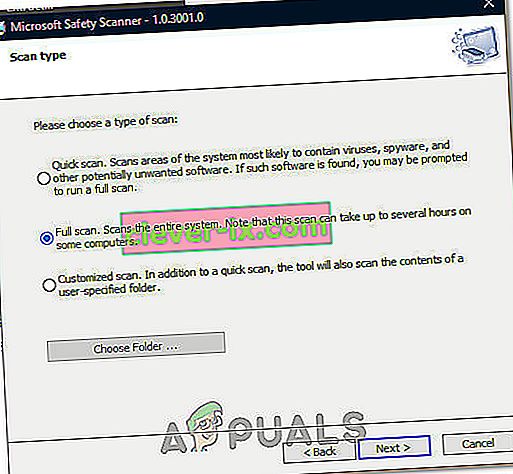
- After you opt for a full scan, the software will start scanning your entire computer to look for any malware or viruses that might’ve disguised themselves as normal executables or applications.
- After this scan has been finished, check to see if the error message still persists.


Method 13: Install Missing Drivers
It is possible in some situations that your device is missing certain drivers due to which this particular issue is being triggered on your computer. Therefore, we will be checking for any missing drivers and then we will check to see if the error is fixed. In order to do this, follow the guide below.
- Download Driver Easy on your computer.

- Run the downloaded executable and install the software on your computer.
- Run the check and see if there are any missing drivers on your computer.
- Install these missing drivers and then install them either manually or automatically using the Software.
- After installing all the missing drivers, check to see if the issue still persists.

Method 14: Reconfigure Registry
It is possible that in some cases, you haven’t properly configured all the registry settings or that you unknowingly configured something incorrectly. Therefore, in this step, we will be reconfiguring our Registry to fix a certain key that sometimes, if misconfigured, causes this particular error on Windows. In order to do this, follow the guide below.
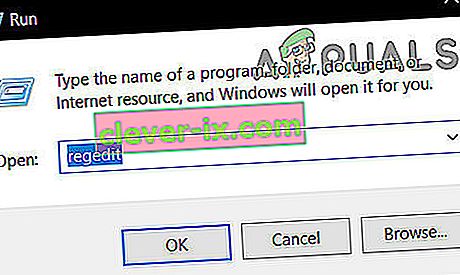
- Press “Windows” + “R” to open the Run prompt.
- Type in “regedit” and press “enter” to launch the registry editor.
- Inside the registry editor, navigate to the following location.
HKLM\SOFTWARE\Microsoft\Windows NT\CurrentVersion\Windows\AppInit_Dlls
- Double click on the “LoadAppInit_DLLs” entry on the right side of the screen.

- Change the value of this registry from “1” to “0”.
- Save your changes and exit the registry editor.
- Check to see if doing so has fixed the error.


Method 15: Update Disk Drivers
In some cases, the Disk Drivers that are being used to control your Storage and other Disks installed on the computer might have been outdated due to which the error is being triggered. Therefore, in this step, we will first be opening the Device Management Window and from there, we will be updating these drivers. In order to do so, follow the steps mentioned below.
- Press “Windows’ + “R” to open the Run prompt.
- Type in “Devmgmt.msc” and press “Enter” to launch the device management window.

- In the Device Manager, double click on the “DiskDrives” option to expand it.
- Right-click on the storage device listed and select the “Update Driver” option.
- Select the “Search Automatically for Drivers” option and let the setup search.
- If there are any drivers available, Windows will automatically check for them and install them on your computer.
- Check to see if doing so has fixed the issue.


Method 16: Disabling Automatic Updates and Uninstalling Updates
It is possible in some cases, that this error is stemming from a faulty update install. Microsoft is notorious for pushing out updates that aren’t properly customized to work for all hardware combinations and often go on to break things instead of making them better. Therefore we will make sure that the recent update isn’t installed on our computer.
In order to do this, we will have to first disable automatic updates on our computer and then we will be uninstalling the recently installed updates. Make sure to back up any important data that you don’t want to lose just in case this goes bad.
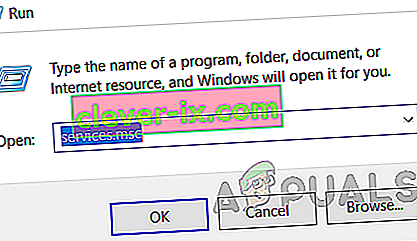
- Press “Windows” + “R’ to open the Run prompt.
- Type in “service.msc” and press “Enter”.
- Scroll through the list and double click on the “Windows Update” service.
- Click on the “Stop” button and then click on the “Startup Type” dropdown.
- Select “Disabled” from the list and select the “Apply” button from the window.
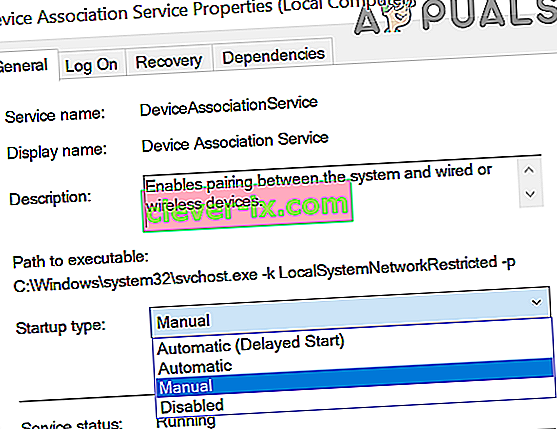
- Click on “OK” to close out of this window.
- Check to see if doing so has stopped your computer from updating.


After stopping the computer from updating, we will now be uninstalling the recent updates that have been installed on your computer. For that:
- Press “Windows” + “I” buttons to open the settings.
- In settings, click on the “Update and Security” option and then select the “Windows Update” button from the left pane.

- In the Windows Update, click on the “View Update History” option.
- In the Update History, click on the “Uninstall Updates” option and it should take you to the uninstallation screen where all the recently installed updates will be listed.
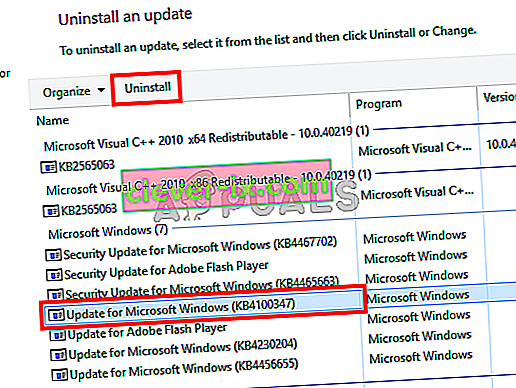
- From the list, right-click on the update that was installed recently and caused this error on your computer.
- Right-click on this update and select the “Uninstall” button to remove it completely from the computer.
- Follow through with the on-screen instructions.
- Check to see if uninstalling has fixed this issue.


Additional Fixes:
- In addition to some of the recommendations given above, you should try to check if there are any bad memory modules (RAM) installed on your computer which can be a cause of this.
- Controleer ook of je je RAM niet hebt overgeklokt tot een niveau dat de aanbevolen limiet overschrijdt. Als u dit heeft gedaan, probeer het dan terug te brengen naar de fabrieksinstellingen en controleer of uw probleem daarmee is opgelost.


